Sunday, August 26, 2012
Watermelon Ruffian Mani
So I've been wanting to try the Ruffian manicure recently and thought it would be absolutely perfect to
do it as a watermelon!! First I did my base coat, then two coats of Wet
N Wild Wild Shine #454D (hot pink) and waited for it to completely
dry (I'm talking next day dry). Then I took hole reinforcers and put
them against the back of my nail, leaving some space, as this is going
to be the green rind. (I used NYC #298 High Line Green and two coats of it.) Then I took a toothpick and black nail polish (preferably a quick-drying one like Wet N Wild Fast Dry #229C Ebony Hates Chris, so it doesn't run when you put a topcoat over it) and made three little "seeds."
Duh I forgot to take a picture of the hole reinforcer on my watermelon nails, but this is how to place it.
Saturday, August 4, 2012
Olympic Mani!
So I'm super excited about the Olympics and have been glued to the TV watching as much as possible, so obviously I had to do my nails to show my Olympic spirit! For this mani I used OPI (I think) in Big Apple Red, but I'll double check on that later.. actually I'll check on all the colors later because I have none of the names with me now. Anywho, for the Union Jack, I did two coats of the blue, then did white stripes, and then did the red. For my Olympic ring nails I used, get this: straws. Such a smart idea, right?! A tip though, (that I got from Seventeen's post) is to coat the ends of the straws with the nail polish to get a thicker circle.. worked perf. For my gold nail I used gold foil that I got at Michael's and oh my gosh it's such a pain, but I think totally worth it. It's extremely fragile and wrinkle and rip prone, so I used a tip from the Beauty Department to pick it up with a wet q-tip and wound up smoothing the foil with it also, but as you can kinda see, it doesn't smooth that well. Before I cut the piece of foil, I did one coat of my base coat (I got this new one that I'm obsessed with.. it really helps prevent chipping!) and waited a little for it to get tacky. To finish off I did a topcoat, of course, but beware! Some of the colors run, as you can kinda see on the Olympic rings with the red and black. Hope everybody is getting into the Olympic spirit and rooting for their country! Go USA!
Monday, July 16, 2012
Flower Power
Hola! Yes, I know, I haven't posted in forever, but anyways!! For this floral mani I used Essie Tart Deco (mango), OPI Steady as She Rose (a blushy pink/purple), Revlon #85 Minted, Sally Hansen Complete Salon Manicure #420 Yellow Kitty, and Sinful Colors #101 Snow Me White and you're going to need a tiny paint brush (preferably an inexpensive one because it can get a little funky after using it with nail polish). First I did two coats of the white and waited for it to completely dry. Then I used the paintbrush and just splotted little circles and did two coats of each color. Then I took black polish (I think it was Sally Hansen Xtreme Wear) and dotted it with a toothpick, but I wouldn't recommend using that polish for this because it ran when I put my topcoat on it!! And I put the topcoat on like six hours after, so it was definitely dry! Also the toothpick created too big of dots on some of them, so I would suggest using the nail art pens for better control. Also, don't forget to clean your paintbrush with nail polish remover! (I did it in between each color.)
Labels:
blush,
floral,
flower,
mango,
mani,
manicure,
mint,
nail art pens,
nail polish,
white,
yellow
Tuesday, June 12, 2012
Tuxedo Mani!
So I'm obsessed with this mani! It was inspired by Zooey Deschanel's one from one of the award shows she went to! I reversed hers and just did the tux on one nail & love it!! I used Wet N Wild's Fastdry in #229C Ebony Hates Chris and Sally Hansen's nail art pens in white!
Labels:
black,
mani,
manicure,
nail art pens,
nail polish,
white
Monday, June 4, 2012
My Birthday Mani!!
Again. I've neglected this blog. I'm trying people, I am. Anyways tomorrow is my birthday (my first one I'm depressed about) and I have these fabulous gold sparkle shoes I'm wearing, so duh, I had to make my mani match! I used two coats of Essie's Tart Deco (obsessed with this color!) and multiple coats (I lost count) of Milani's Jewel FX #531 Gold (just until it was solid)!!! That's it! The sparkles shine really nicely in the sunlight also!!
Monday, April 30, 2012
Strawberry Mani!
So I knew this was going to happen. I was going to get too caught up in other things and neglect this blog, but I'm back now. School's over and I'm not working that much, so I plan on fulfilling my previous promise of posting at least one thing every week! Today I have my strawberry manicure! For this I used Wet N Wild's Wild Shine #414A, (it's a red that has a slight berry tint to it), NYC's #298 High Line Green, and any black would do, but I used Sally Hansen's Xtreme Wear #370 Black Out. First I painted them two coats of the red and waited for them to completely dry! Next I just painted on green tips, then I used a paint brush to do the points, (again, I did two coats, but it could take you more depending on how much you use. I sort of globbed it on, which made it a little lumpy, but my top coat smoothed it out). Finally, I used a paintbrush, (but you could use a toothpick) to do the seeds. I did two coats, but I really depends on what black you use! Of course, a top coat to seal it all in and smooth everything out and done! It's a great mani for the summer!
Tuesday, March 27, 2012
Beauty PSA
So I'm going to start posting these Beauty PSAs to keep you all updated on some of the beauty sales and events going on! Right now, Sephora is having a VIB only event where you get 15% off (in-store and online) and an in-store preview event, where you get a Sephora umbrella, sample bag, and some other little goodies! If you're a VIB you should've gotten the email with all the deets!
Monday, March 26, 2012
Caviar Mani
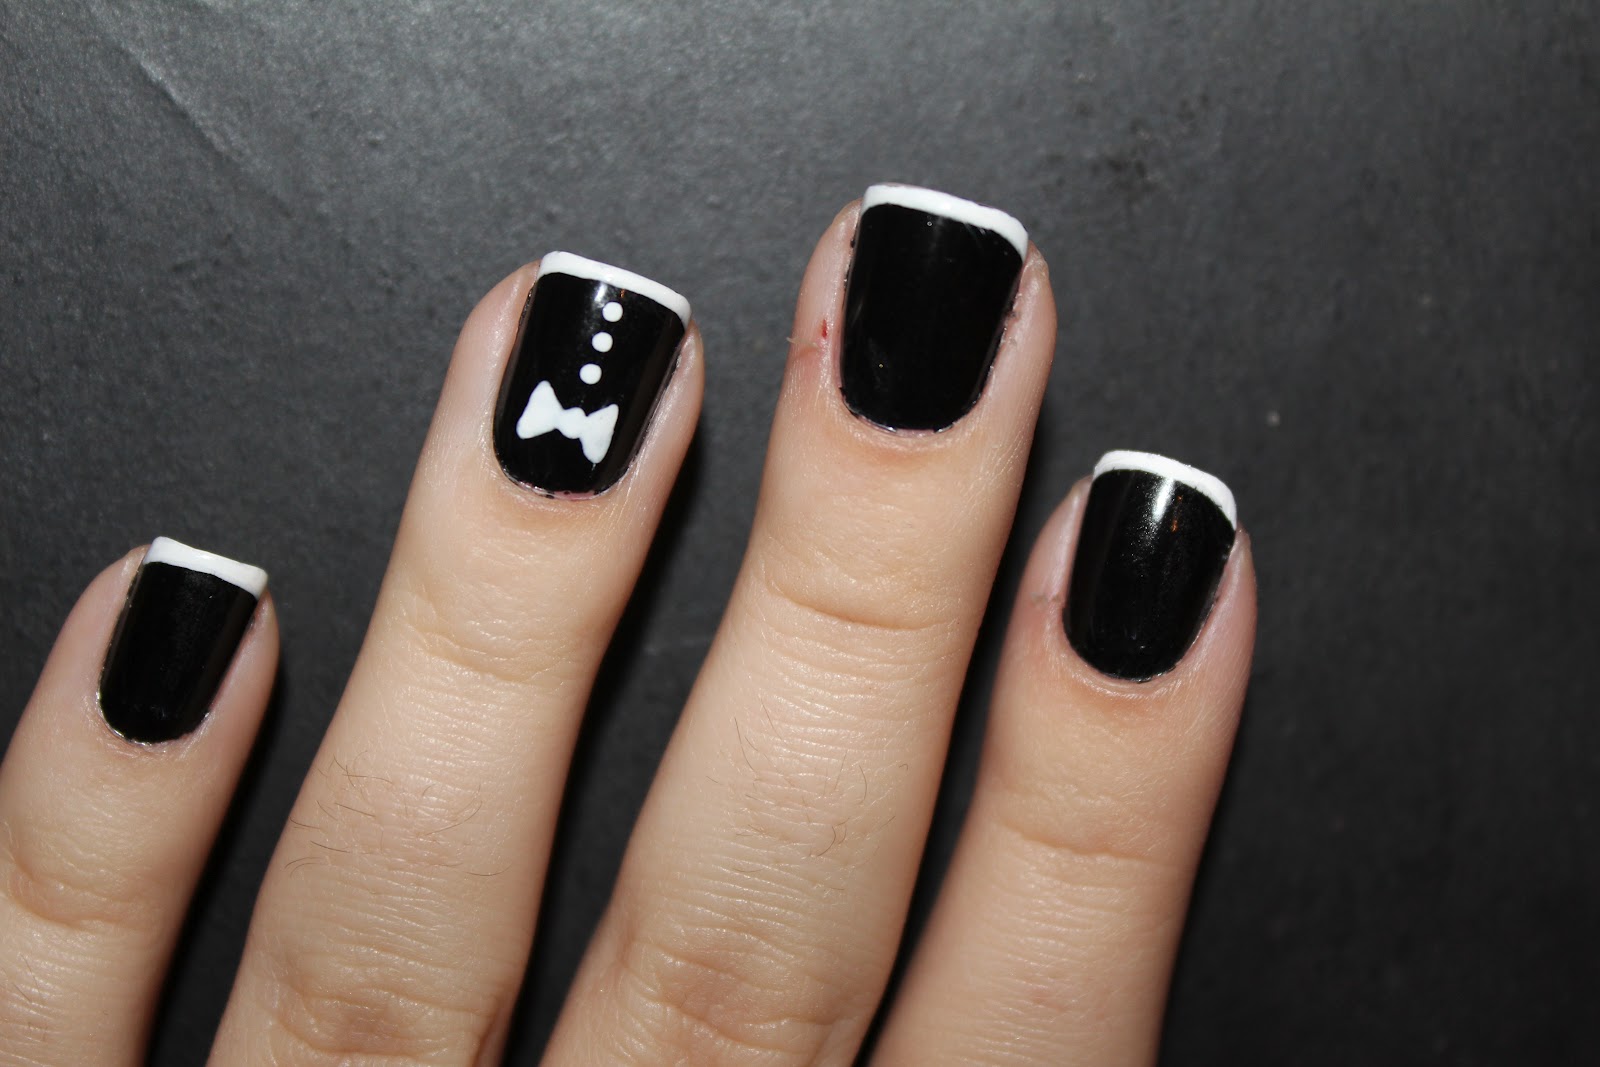
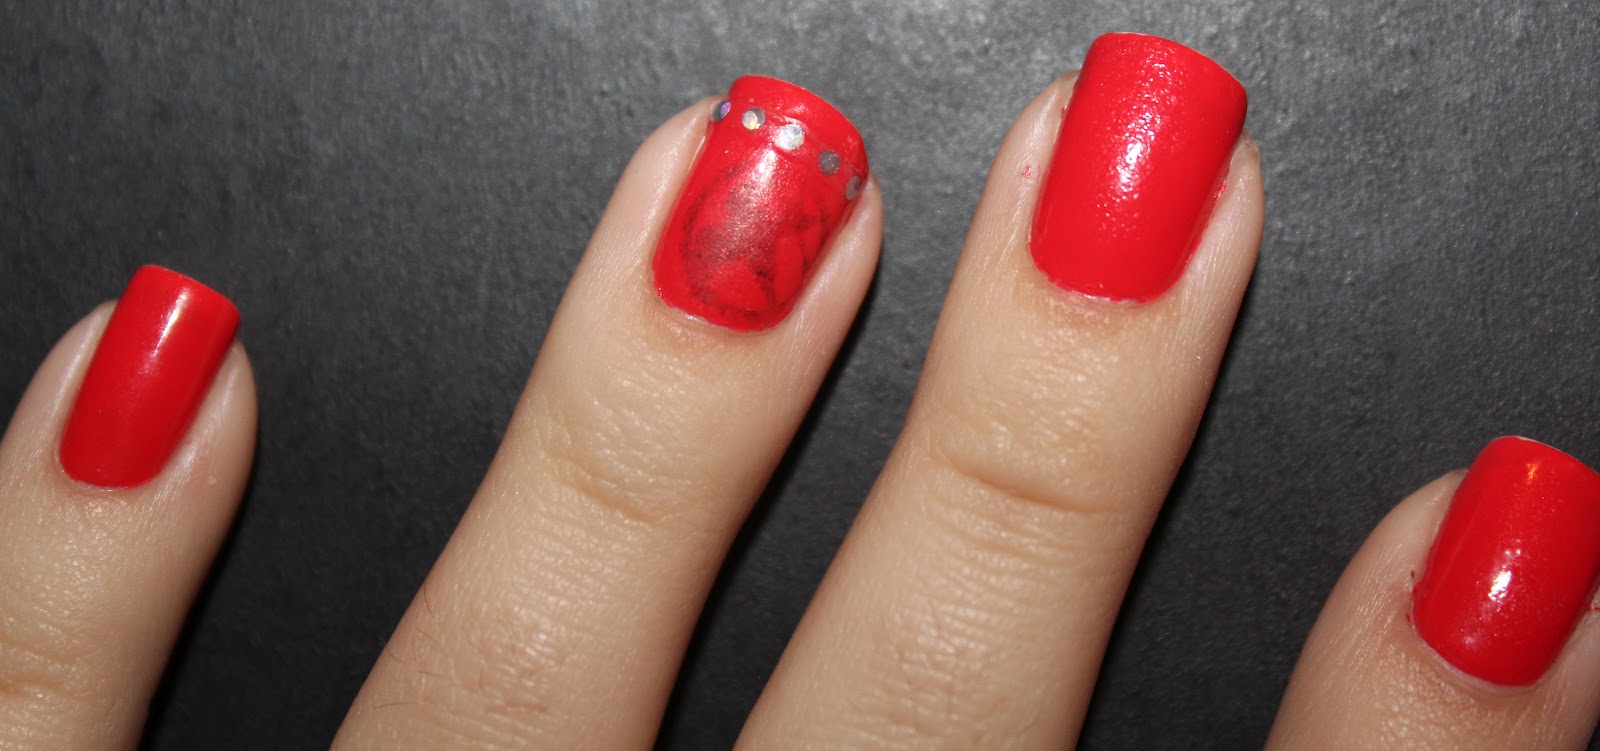
If you've been on Pinterest lately, I'm sure you've seen the "Caviar" mani making the rounds... It's that tiny little microbead mani. I did this mani back in October, and everybody loved it, so I decided to do it again! In October I did a gunmetal polish with silver beads to go with my outfit then, and this weekend I did black polish with gold beads, to match my outfit now. Everybody loved it again. :) Since I was only using the microbeads as my accent nails, I did them first so that I wouldn't mess up my other nails if they were wet. I used Sally Hansen's #310 Gilty Pleasure as the base for the gold microbeads. I did two coats of this. Immediately after I did my second coat, I dipped my finger into my container of microbeads. (You can dip them or sprinkle them. I prefer to sprinkle because I feel like it just makes it non-clumpy. Like, when I dipped my nail, there was a ton of extra beads stuck on it, which are easy to remove and flatten, but it's just extra work. If you are going to sprinkle though, be sure to do it over a plate or something to catch those little buggers! They seriously go all over.) After I got rid of all of the excess beads, I did an generous coat of my Out the Door top coat. In the future I think I would try using a different top coat, maybe one that doesn't fill in a bunch, but you don't even have to use a topcoat if you don't want. I just feel it seals it in better so they don't fall off as easily. For the rest of my fingers I used Wet N Wild's Fastdry in #229C Ebony Hates Chris. (It truly is fast drying. Like, it's amazing.) I only used one coat of this and it gave me a fantastic opaqueness. You really don't need a top coat for it because it shines really nice, but I did anyways. Hope you guys try this mani out!! It's truly eye catching and everybody will want to touch them!
These are the microbeads. I got mine from Michael's and I think they were about $4.00. Mine were in the aisle near stamping supplies. They come in loads of different colors and also in little mini packs with the different colors.
You can see where some of my beads fell off after a long day of work.... Super easy to fix though. Just take a toothpick, dab it with some top coat, dab it on the nail, put the toothpick in the microbeads, and place them where they're needed.
Thursday, March 22, 2012
Hunger Games Mani
Happy Hunger Games! So I haven't read the books (I'm thinking about it), but I'm super excited for the movie to come out tomorrow! For this mani I used OPI Cajun Shrimp. Make sure it's super, super dry before doing the next steps! (Like a couple of hours, at least.) Okay so then I printed out the mockingjay icon and printed it out on a laser jet printer (the size of it was .38 in x .4 in). Then I cut it out and got rid of as much excess paper as possible, laid it on my nail, and used a paper towel with rubbing alcohol on it. Rub the paper towel on the cutout for like two minutes and press down hard to make sure the image transfers (why the nail needs to be completely dry). Remove the paper. Now, it most likely won't be a solid image, (mine wasn't) so what I did next was used a tiny paintbrush and black acrylic paint to go over the image and define it. Top coat to top it off and you're done!
*I had the little strip of holo stickers at the tip of my nail from the day before and just left it on (not that I would know how to easily take it off). The strips are from Sally Beauty Supplies and you can get them here.
**Oh! Also another little note: I was stupid. I should've flipped the image on the computer so that it would turn out correctly, so I would suggest doing that.
***Another stupid move: I could gone over it twice to make it really solid, but in real life you can't really see the unsolidness.
Labels:
acrylic,
cajun shrimp,
holo,
Hunger Games,
nail polish,
OPI,
stickers
Saturday, March 10, 2012
Pink Leopard Mani
This manicure is easy. Go ahead, give me your crazy looks that I got when I told people that, but it really is! (Not to mention, there are tons of color combos you can use!) For this mani I used Sinful Colors' Easy Going as the base and two coats gave me my solid blush color. (I love this color, by the way. Like, love.) Then for the spots I used Sally Hansen's Nail Art Pens in black and coral! (The coral is from the new summer collection that came out recently and they had several other cute colors too!) I really like Sally Hansen's pens because if you mess up, they come off easily with water and your mistake is gone! (Also, this is why it's really important to use a top coat, otherwise your designs will be washed off easily!) Okay so first I did my base color and waited for it to completely dry. Then, I made odd shaped ovals with the coral pen and then I used my black pen and did two lines sort of on either side of each odd shape! See? Easy! Give it a try and let me know how it goes!
Labels:
coral,
leopard,
mani,
nail art pens,
nail polish,
pink
Subscribe to:
Posts (Atom)